
Updated!!
I'm sorry, but I forgot to post pics of the frame with magnets on it. Please scroll to the bottom to see them. Thanks for pointing it out for me! And Thanks for all the comments!
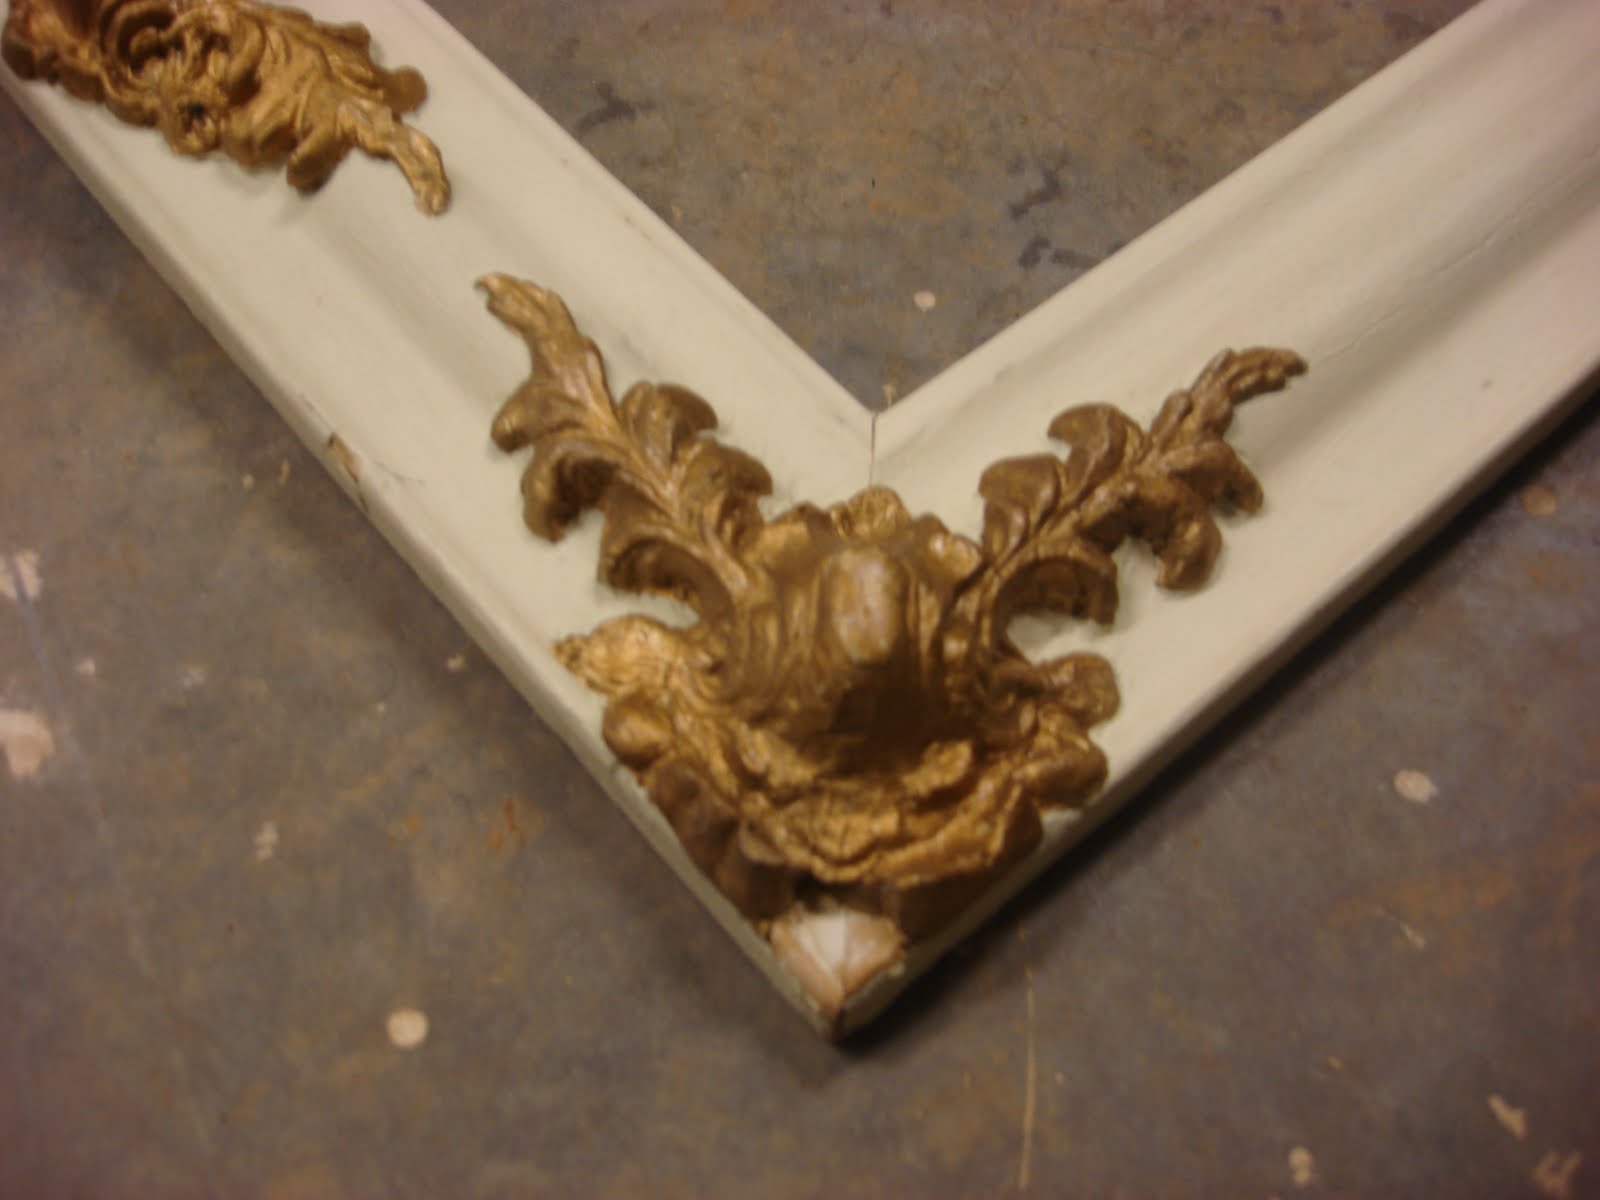
I found this bad boy at a recent flea market trip. I loved the details on the frame but hated the gold paint. It needed rescued!

So I brought it home and whipped out my trusty can of spray paint and went to work. It took a few layers to cover that gold. It just absorbed the paint.

Then I took a piece of particle board that I had and cut it to fit the opening of the frame.

I used my new Dremel Trio that I got for Christmas to cut it.

First time that I used it, but I'll get the hang of it. See, my cut isn't exactly straight, but it will be hidden by the lip of the inside of the frame.

Then I whipped out my trusty can of glaze and set to work on the frame. I love glazing! It is great to distress items.

Once you get all the glaze on it, you have to wipe it right back off. I know, sounds redundant but it works.


I wanted it to be like a huge memo board, but didn't want to make push pins for it. So, I pulled out the Magnetic Paint and got to it.


It says that you only need to put 3 light coats onto it, but I wanted the magnets to really hold, so I ended up putting about 6 coats on.
Now, I took the particle board and sprayed a coat of Satin Nickel onto it.


I thought that I wanted it to be like a piece of sheet metal. And yes, I know Aimus could very easily have cut a piece for me, but I wanted it to be something I made all by my little self. (No offense Aimus!)


I'm thinking that I want something with a little more texture. Hmmm...
So...I let this thing sit for a week and kept walking by it, and thinking, I really don't like the look.
After bowling yesterday (yes, I bowl! Don't judge!) I ran by Jo Ann's and looked at all of their material. And I fell in love with this turquoise damask! Beautiful!
I took my board and laid it on top of the 1/2 yard damask that I bought. Then I took the excess material and started stapling around the edge. (Just one though!)


I am very happy with how it turned out! Thanks for stopping by today.

I've linked over at Vintage Revivals for look what I found Friday.

I've also linked to Sugar Bee-Craft Edition.
 And I linked to Krafty Kat
Updated photos!!


So...I let this thing sit for a week and kept walking by it, and thinking, I really don't like the look.
After bowling yesterday (yes, I bowl! Don't judge!) I ran by Jo Ann's and looked at all of their material. And I fell in love with this turquoise damask! Beautiful!
I took my board and laid it on top of the 1/2 yard damask that I bought. Then I took the excess material and started stapling around the edge. (Just one though!)

Then, when I got to the corner, I cut the material from the corner into the corner of the board. Like this.

Then, I took the extra material that I had just cut and folded it under. I then stapled it down like so.

Next, I did the same thing to the other side. It should look like this. I like nice finished corners even if I'm not going to see it.

Then I did the opposite side. Pull tightly and staple first, then I cut the corners and did them. Next I did the other two sides. Making sure to pull the material tightly. Don't want to have any ripples in your material.

Flip the board over and it looks like this.

Then I just stuck the newly covered board into my frame. Stapled it into place. (I'm using a staple gun for all of my stapling.)
I adore it! I think it turned out wonderfully!


I've also linked to Sugar Bee-Craft Edition.
Updated photos!!


Good choice adding the fabric! I love how it looks. It's a gorgeous frame!
ReplyDelete~Mary
Ummm....I found you through Vintage Revivals and I am IN LOVE with this frame! I am so jealous! I am ALWAYS looking for fab frames like that and I never find any. I love what you have done with it too! So cute!
ReplyDeleteSuper duper cute! loved the first try too! I would love to make one to hang my jewels on!
ReplyDeleteThe glaze totally made the fram amazing! You did a great job on it. Thanks for stopping by and for leaving such a sweet comment on my blog.
ReplyDeleteJennifer
http://www.alwaysinwonder.com
I like the color of the fabric and the pattern...I really, really, really like the detail on the frame. You didn't show a picture with magnets.
ReplyDeleteDid it work pretty well? Do the magnets hold?
Love it! You did such a great job with this frame and love that fabric too! Thanks for linking up to Gettin' Krafty With It!
ReplyDeleteWow Ive never tried the dark Ralph Lauren glaze ive always used the light one. looks wonderful
ReplyDelete